Install & first launch
Download, install, and launch Screen Cut Pro for the first time.
System requirements
- macOS 14 (Sonoma) or later. Apple Silicon recommended; Intel Macs running Sonoma+ are supported.
- ~250 MB of disk space for the app, plus working space for your recordings (rule of thumb: a 1080p screen capture is roughly 1–2 GB per ten minutes before edits).
Download & install
- Click Download for macOS on this site or visit
screencutpro.com→ Download. - Your browser will save
ScreenCutPro-X.Y.Z.zipto your Downloads folder. - Double-click the zip to extract. A
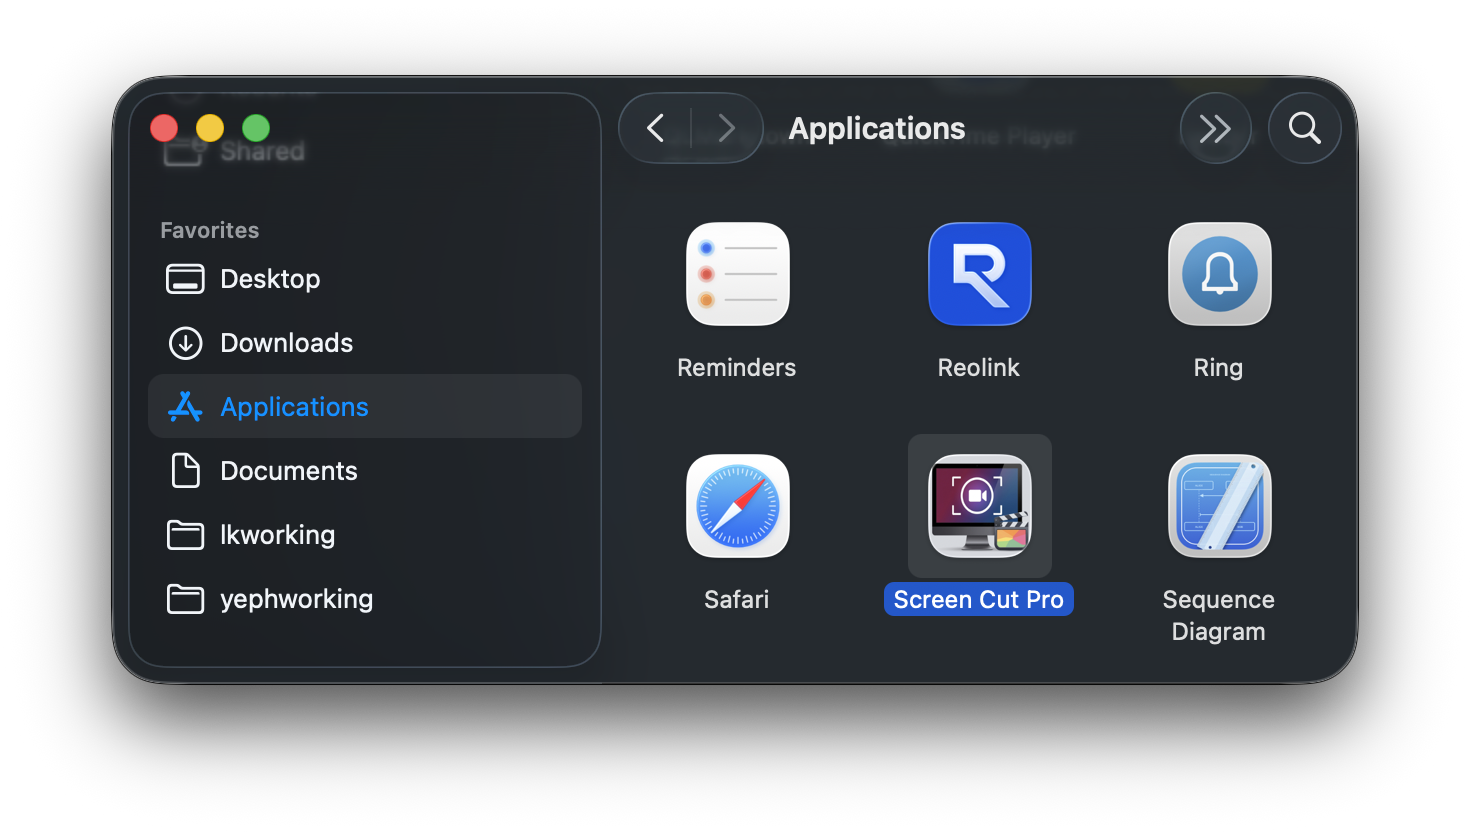
Screen Cut Pro.appbundle will appear next to it. - Drag
Screen Cut Pro.appinto your/Applicationsfolder.
/Applications.First launch
Because Screen Cut Pro was downloaded from the internet, macOS shows a one-time Gatekeeper prompt the first time you open it. The app is signed with a Developer ID and notarized by Apple, so this is just a confirmation step:
- Double-click
Screen Cut Pro.app. - If macOS shows “Screen Cut Pro” Not Opened with a Done button, click Done.
- Open System Settings → Privacy & Security, scroll to the bottom, and click Open Anyway next to the Screen Cut Pro entry.
- Confirm with Touch ID or your password. The app launches.
Subsequent launches go straight to the app — this is a one-time-per-Mac confirmation that Apple introduced in macOS 15.
Next: granting permissions
On first launch you’ll be walked through a short permissions onboarding. See Permissions for what each one enables and how to grant or revoke them later.